Mounting your ISO image and booting from it
This guide walks you through the steps to upload and mount an ISO image in VMmanager, enabling you to boot from it effectively.
Mounting your ISO image and booting from it
Please keep in mind that we offer turnkey solutions that meet most needs. They will be easier and faster to use.
VMmanager 5
STEP 1: Go to VMmanager. (here is how to do it)
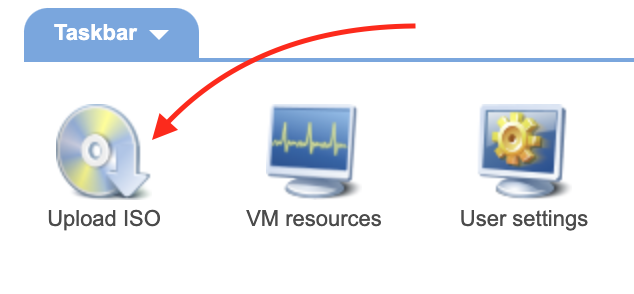
STEP 2: Click on “Upload ISO” button.
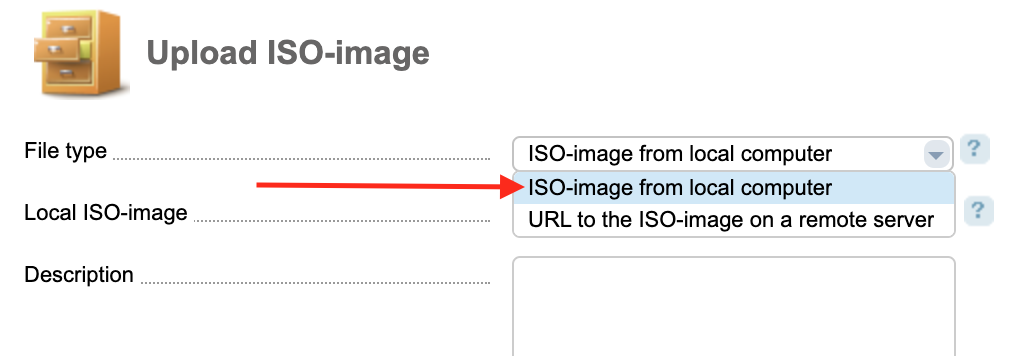
Selecting a file type.

Uploading ISO-image from local computer
STEP 1: Select in “File type” - “ISO-image from local computer”.
STEP 2: In “Local ISO-image” choose the file that you need.
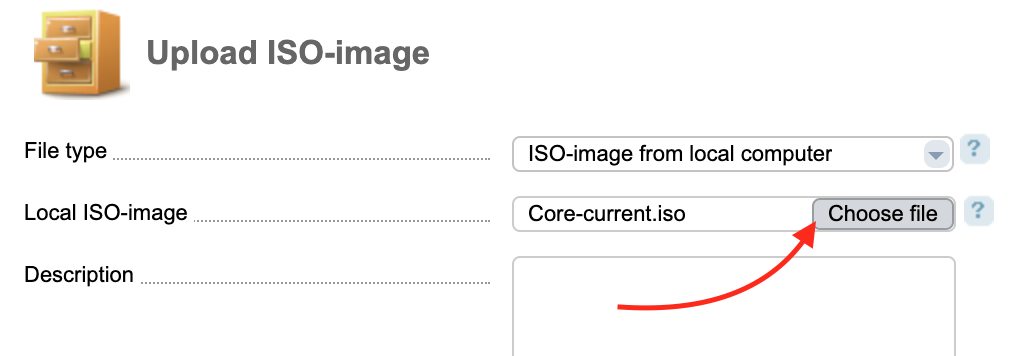
STEP 3: Click “Ok” to save changes.

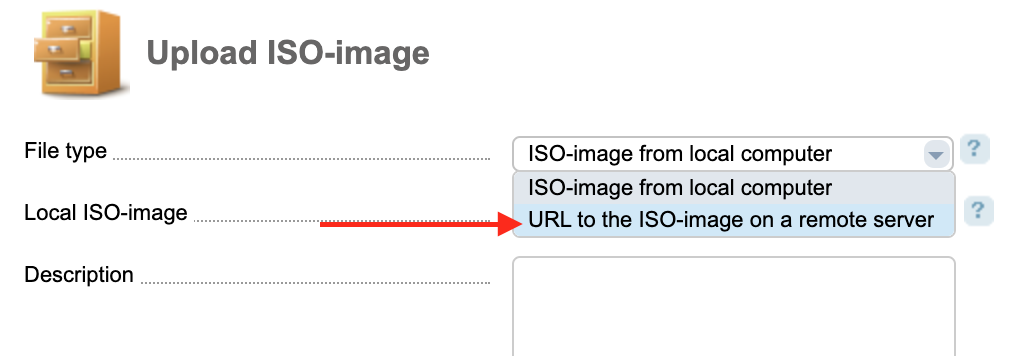
URL to the ISO-image on a remote server
STEP 1: In “File type” select “URL to the ISO-image on a remote server”.
STEP 2: Enter a URL of ISO-image.
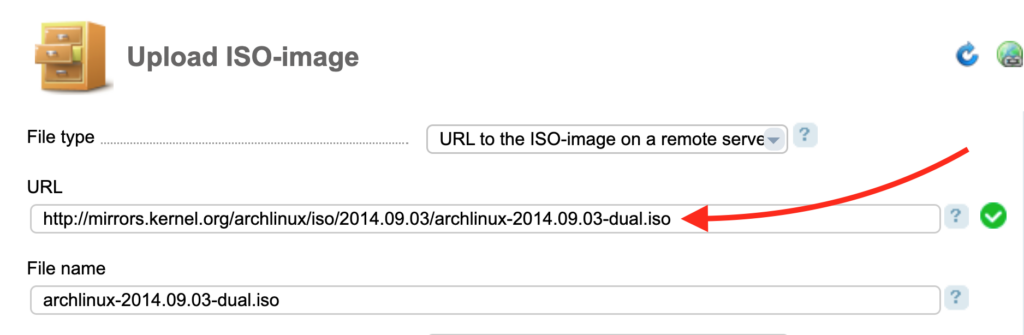
STEP 3: Enter a file name.

STEP 4: Click “Ok” to save changes.
Mounting an ISO-image.
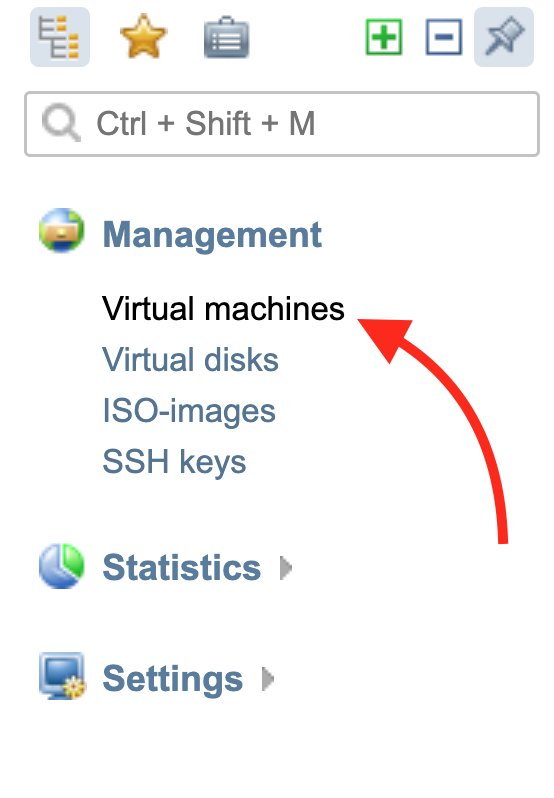
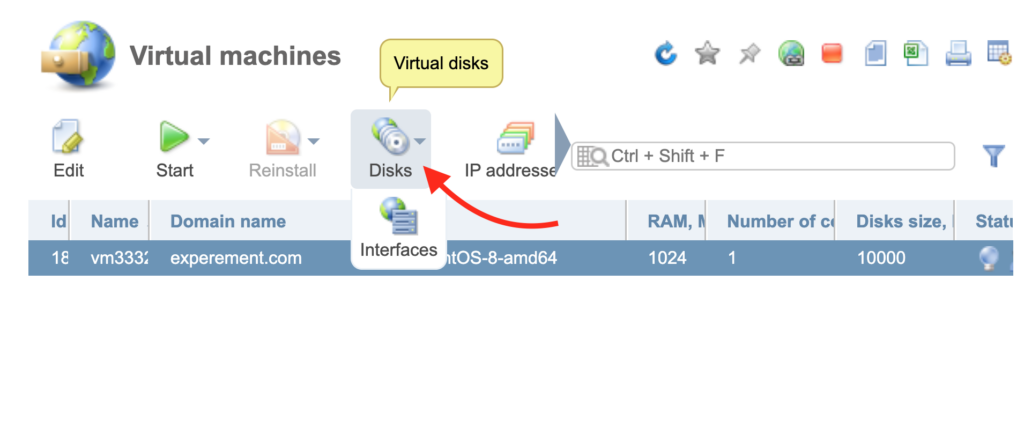
STEP 1: Go to “Virtual machines”.
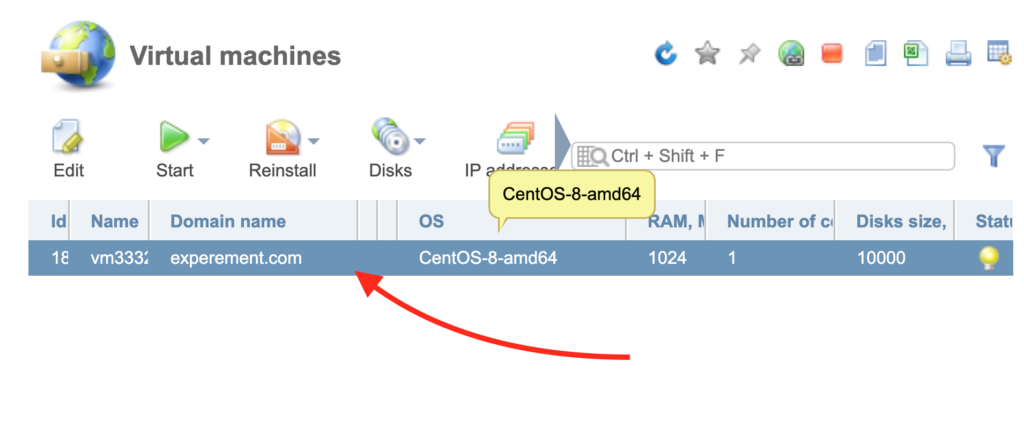
STEP 2: Select a service.
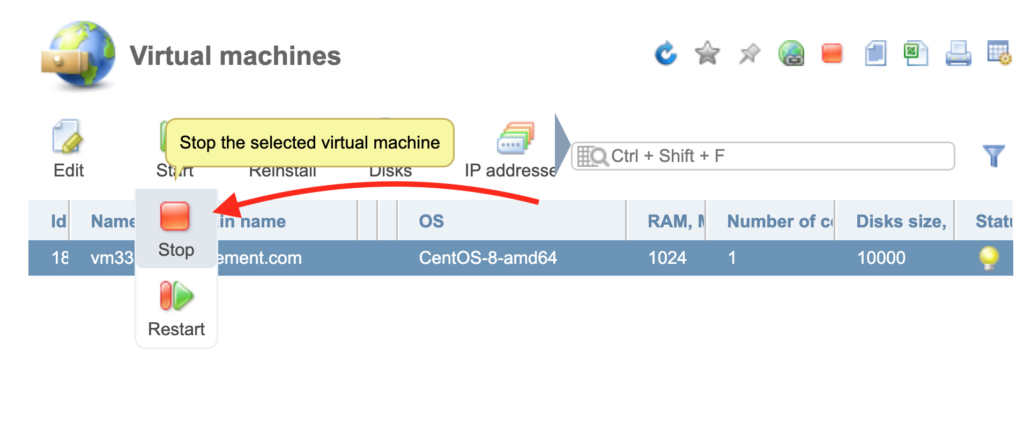
STEP 3: Stop this virtual machine.
STEP 4: Click on “Disks” button.
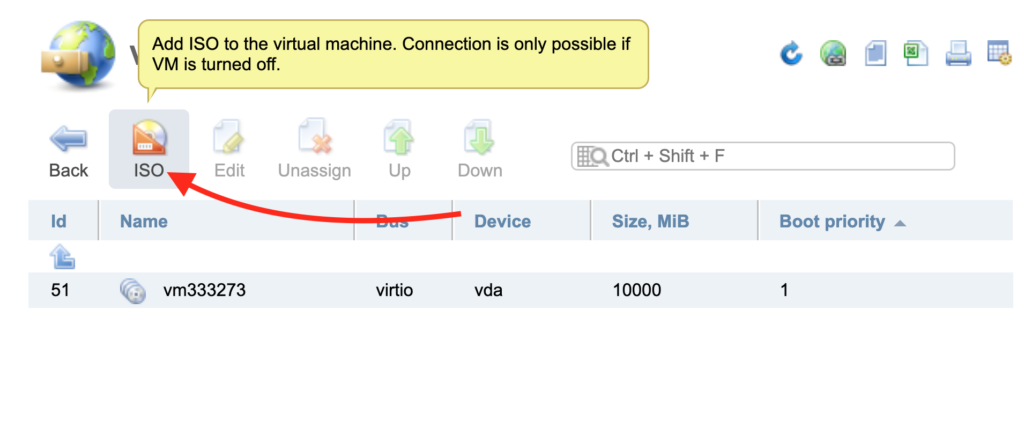
STEP 5: Click on “ISO” button.
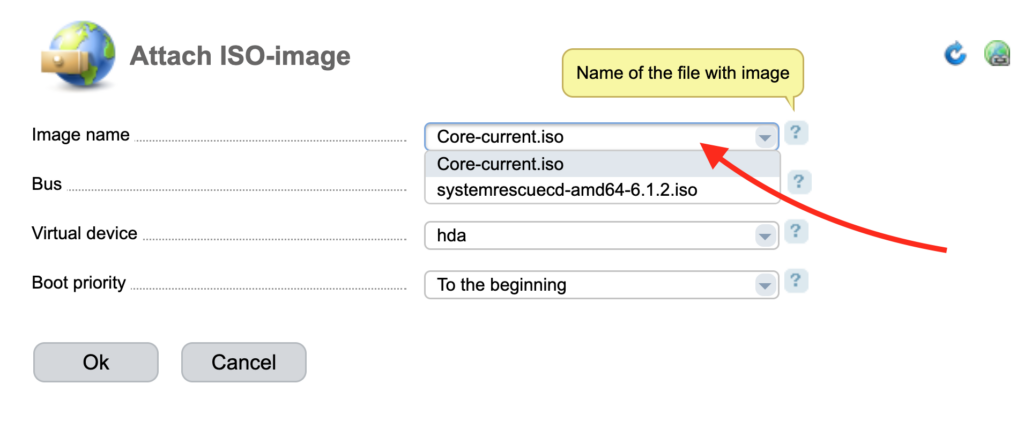
STEP 6: Select the needed file in “Image name”.
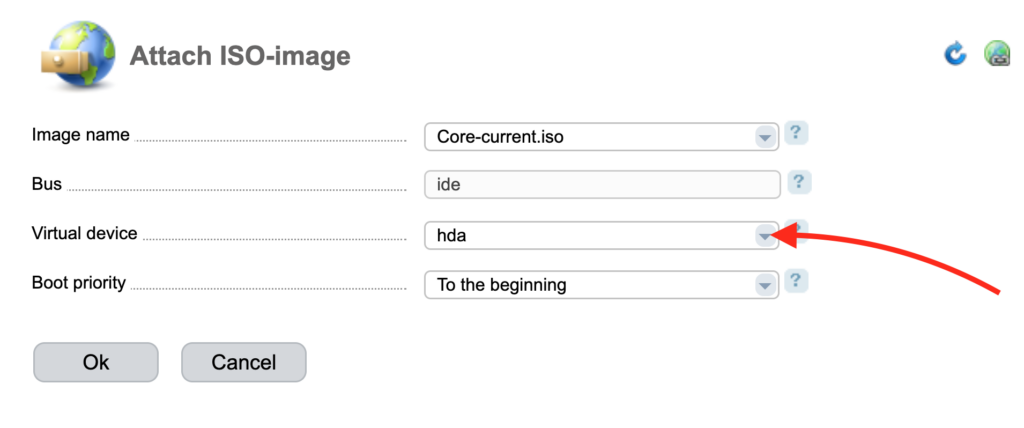
STEP 7: Select a virtual device if needed.
STEP 8: Select a boot priority.
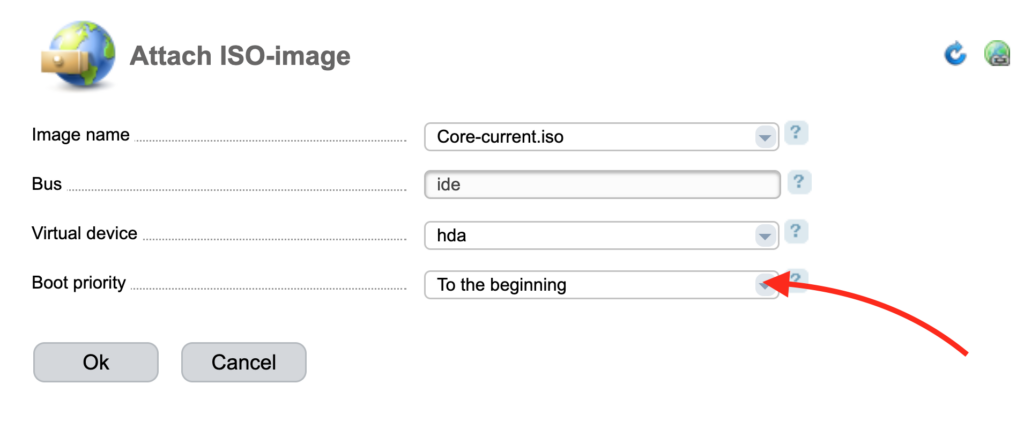
STEP 9: Click “Ok” to save changes.
VMmanager 6
Note: VMmanager 6 supports downloading the ISO images only with a URL.
STEP 1: Go to VMmanager. (here is how to do it)
STEP 2: Click on “Menu” button.
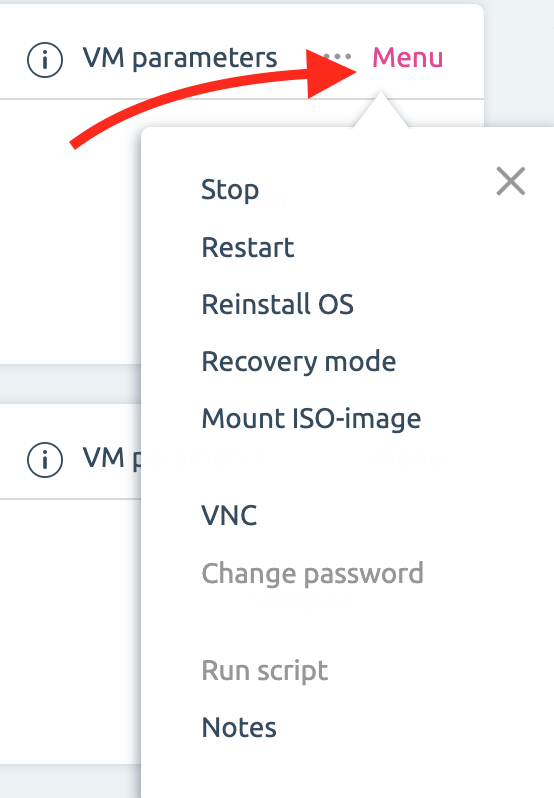
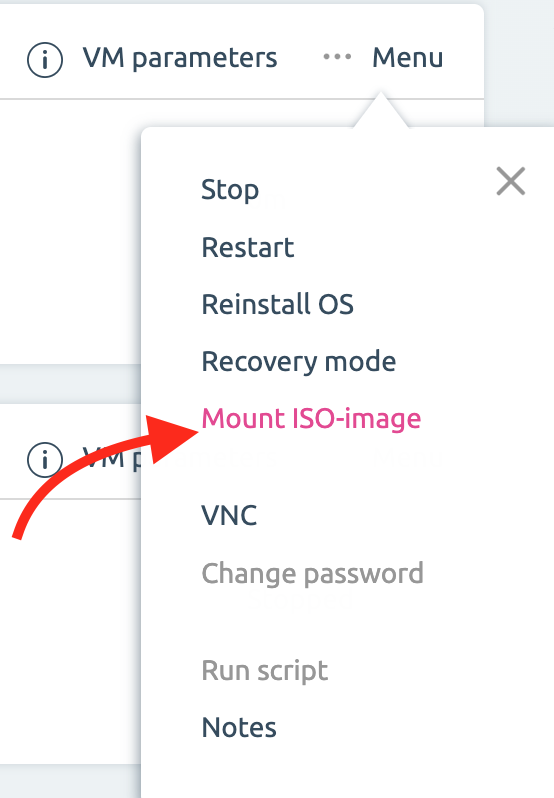
STEP 3: Click on “Mount ISO-image”.
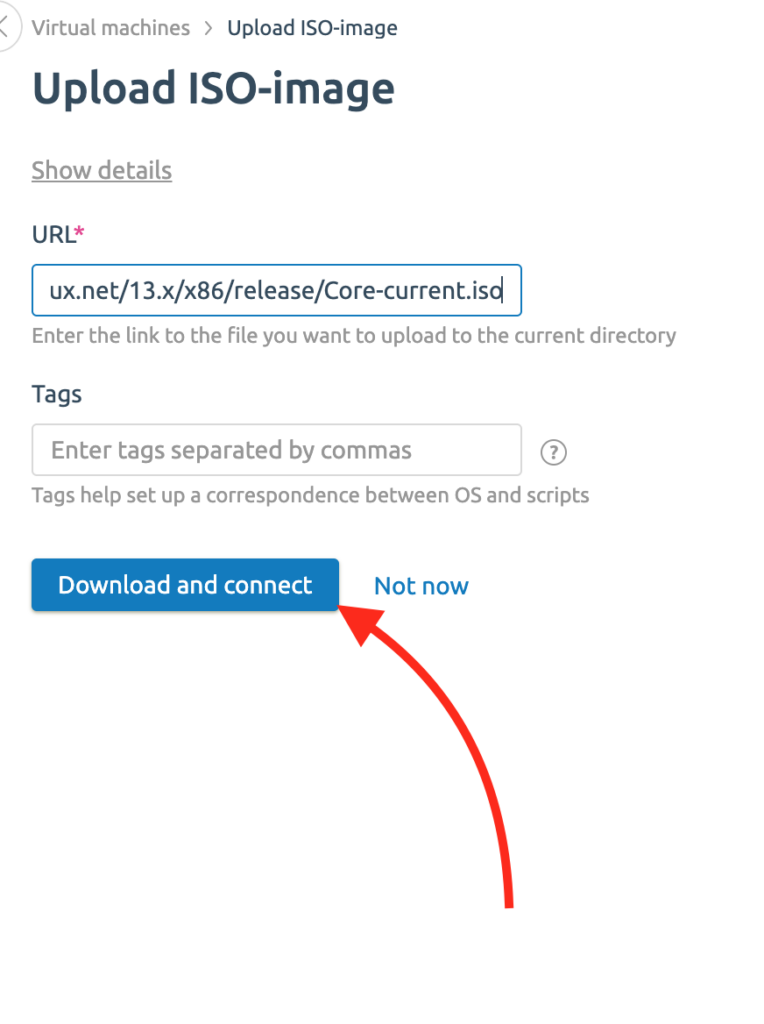
STEP 4: Enter a URL of ISO-image.
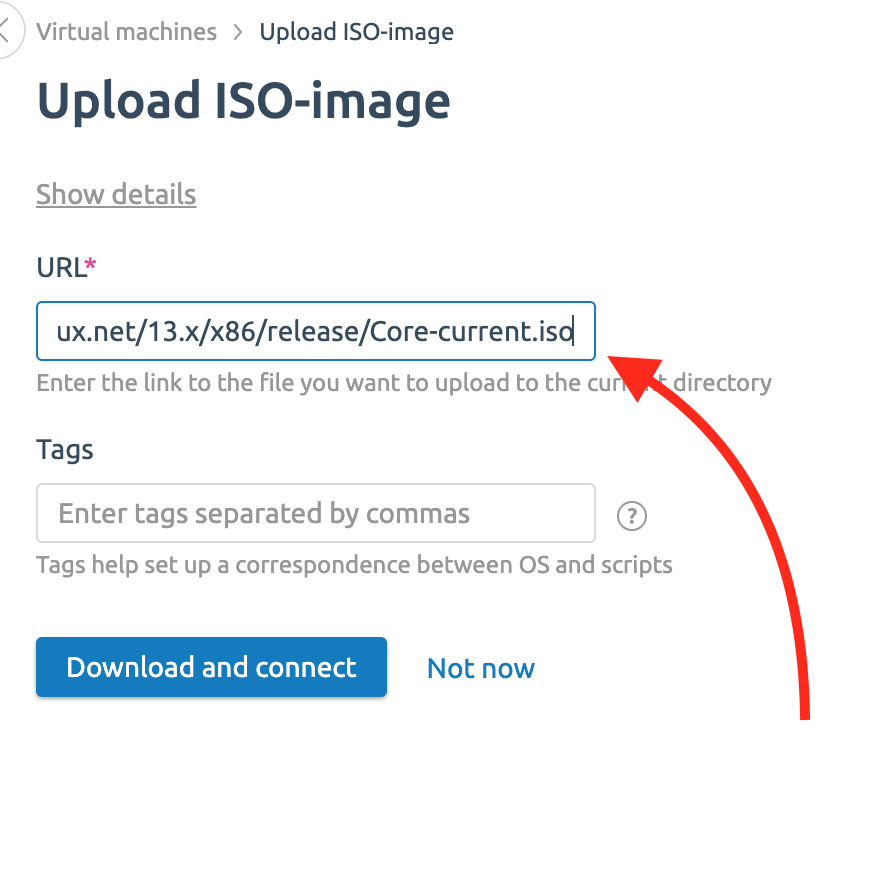
STEP 5: Click “Download and connect” button.
Related Articles
Browse more articles in these categories.