How to Install MikroTik Cloud Hosted Router on SSD VDS
Learn how to install MikroTik Cloud Hosted Router on an SSD VDS to enhance your network capabilities.
How to Install MikroTik Cloud Hosted Router on SSD VDS
Installing your own router, VPN server, or firewall in the “cloud” has many applications. One popular solution is the MikroTik Cloud Hosted Router™, a specialized version of RouterOS. In this guide, we will install it on a regular SSD VDS.
Getting Started
We’ll use an SSD VDS with 1G of memory for our tests. The minimum configuration is sufficient for most common applications. For the operating system, we will choose CentOS 7.x.
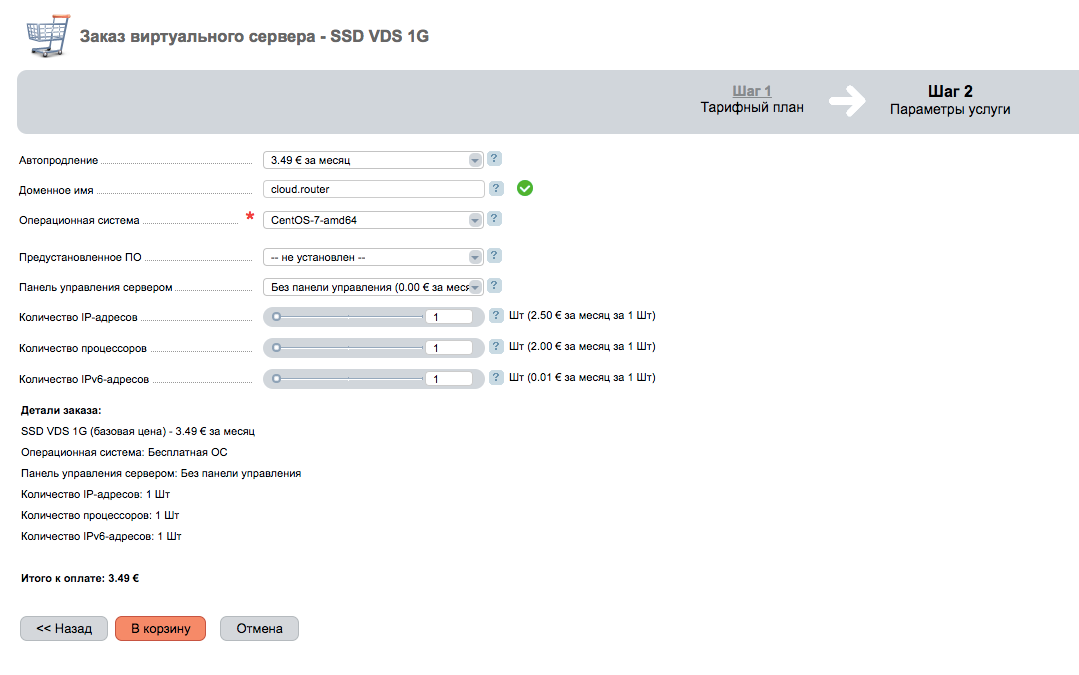
After placing the order, an email will arrive with the IP address and access parameters. Now, let’s use any SSH client to log into the operating system of our SSD VDS:
~ agl$ ssh cloud.router -l root
The authenticity of host 'cloud.router ()' can't be established.
ECDSA key fingerprint is SHA256:Ye1+i0hx/pDS5lph0zJDmxZ2FuluCC/OI2RTLt4g+c8.
Are you sure you want to continue connecting (yes/no)? yes
Warning: Permanently added 'cloud.router,' (ECDSA) to the list of known hosts.
In the example above, cloud.router is the hostname or IP address of the virtual machine. We are logged in, now let’s execute a few commands:
# wget https://download2.mikrotik.com/routeros/6.39.2/chr-6.39.2.img.zip
# echo u > /proc/sysrq-trigger && gunzip -c chr-6.39.2.img.zip | dd of=/dev/vda
# reboot
Command Explanation
- The first line downloads the installation package of the Cloud Hosted Router.
- The second line writes the image to the VDS disk, overwriting the existing operating system. Warning: Do not attempt this on active servers with important data.
After rebooting the VDS, open the VNC console. You can find it in the self-service system under “Virtual Servers”. Click the “Go” button to enter the VDS server management panel where the built-in VNC client is available.
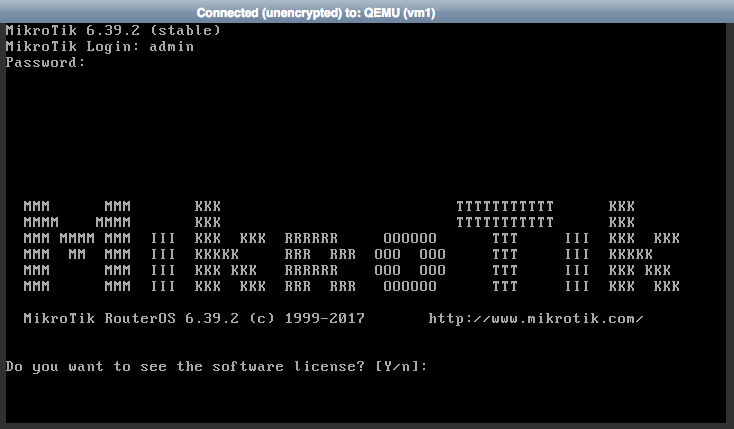
Once in the console, log in with the username admin and leave the password blank.
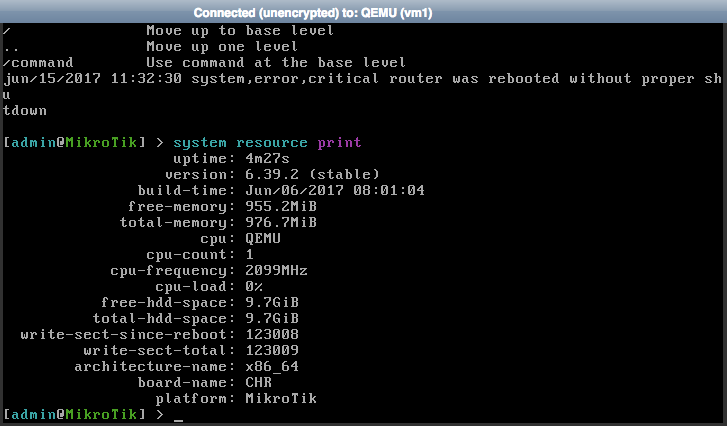
Post-Installation Configuration
You can now start configuring your Cloud Hosted Router. Remember to set the IP address and create a password for the administrator:
/system user set admin password=SuP3rPazw0rD
/ip address add address=xxx.xxx.xxx.xxx/24
/ip route add gateway=xxx.xxx.xxx.yyy
Happy studying and utilizing this powerful solution from MikroTik!
Need Help?
Our support team is available 24/7 to assist you with any questions or issues.
Contact Support